Now that the Master Bedroom Project is completed,
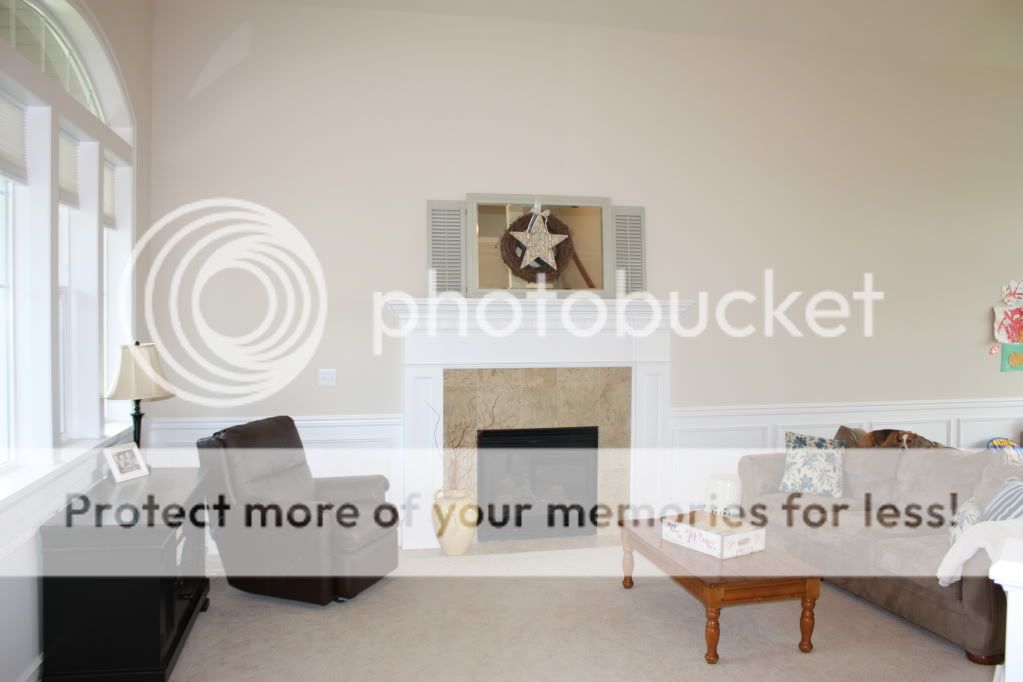
we've moved on and are starting the living room redecorating project
{actually I shouldn't call it RE-decorating when it was never decorated to begin with!}.
As I said in my Virtual Living Room Makeover post,
our living room is the first room you see when you walk in our front door
and it's high time that it got some love.
Here is my vision for the room...
our living room is the first room you see when you walk in our front door
and it's high time that it got some love.
Here is my vision for the room...
First step = painting the walls.
A few months ago when I started hoarding collecting Sherwin Williams' paint samples
to make my own paint fan deck, I immediately fell in love with Sea Salt.
It looked like the perfect mix of gray and light blue.
Just to be sure I liked it in our living room,
I got a sample pint of it and did some patch testing on different spots throughout the room.
Sadly, this made me fall out of love with Sea Salt.
It just looked too baby blue on our walls.
So I headed back to Sherwin Williams and got a sample pint of Comfort Gray,
my second favorite paint color.
Again, I painted splotches all over our walls and decided that although I loved the color,
it was just too dark for the room.
So back it was to Sherwin Williams for the third time.
I explained my problem to the paint guy and
we started messing around with the tint of Comfort Gray until I was happy with it.
We ended up cutting the tint by 35%,
which means the color stayed the same, it just lightened up a little bit.
It was love at first sight.
Not too light, not too dark, a perfect mix of blue and gray and not the slightest hint of baby blue.
Once the paint decision was made and the paint was bought,
we had to figure out which walls to paint.
{excuse the mess of toys. our formal dining room is currently serving as the kids' playroom.}
There are several issues that make painting rooms in our house rather difficult.
First off, all of our walls have rounded corners, which makes in hard to find stopping/starting points for adding color to our walls.
Second, our house has an open concept floor plan, which means one room blends into another without any real definition of separate spaces.
Oh and the shared ceiling in our foyer/living room/dining room is 17 feet high at its' peak!
I knew I wanted to paint the main wall with the fireplace.
I wasn't so sure about the other walls.
But once we painted the main wall, it looked like the room was closing in on you,
like the wall was coming at you.
To remedy that, we painted the big wall with the window in the dining room to anchor the main wall.
I didn't dare do the other walls for fear of ending up having to paint the whole house!

{yeah I know, that play room is a real mess!}
We only ended up painting the two walls, but who knows, maybe we'll end up painting more!
But for now, I am really happy with how it looks.
So my advice to those of you who have open concept floor plan homes and want to add color, but are scared for fear of not knowing where to start/stop is this:
Pick a color you love {test it out first} and start by painting ONE wall.
If you like it, stop.
If it looks weird, paint another wall.
Keep going until you are satisfied with how it looks.
If you have rounded corners like we do, here is a good website that explains where to stop/start your paint:
~ ~ ~ ~ ~ ~ ~ ~ ~ ~
I hope you have a fabulous weekend!
We'll be out playing in the snow - yippee!!
P.S. I'm joining these parties this weekend:


